Order online Here
tel: 435-648-2141
HOME





This is the way I can jam, I would suggest you check with a well known recipe book or the extension services. The ball canning book is a something I have used for years.
We are not responsible for any recipe or food problems you may have while canning.
It has worked for me for years so I am sharing what have been successful for me throughout the years.
One suggestion I will make for you is that you buy your canning supplies, lids jars or whatever throughout the year as during canning season there can be shortages.
Apricot Jam
I like my apricots ripe, you get a sweeter creamier jam. Wash your apricots and pit. Cut out any bad or spoiled spots and give to your chickens if you have them. Grind apricots slightly in your grinder, I prefer having small chunks of apricot in my jam so don't puree.
Wash your jars and lids, put the jars into a water bath on the stove to sterilize In a separate pan put your screw on jar rings and bands, simmer on low heat to sterilize them also. If you want to put wax on the top of your jam, I put paraffin in a double boiler, be very careful with the wax and never put hot wax directly on the stove to heat as it will get hot and start on fire. Read the instructions on the wax label before using.
Caution: Wax will ignite if overheated or exposed to open flame. To avoid danger and to preserve the quality of the wax, I always melt in a double boiler. Also if you put hot wax in water it will explode. Make sure you read all the caution labels on the wax before heating.
Put your apricots in a large pan with 1/4 cup of lemon juice and I use 1 package of Ball fruit Jell Pectin per 5 cups of apricot. You can buy this at any grocery store or Wal-Mart. You can also use some apples like granny smith that will thicken your jam.
Bring your apricots to a boil (the instructions are inside of the ball pectin). Bring your jam to a boil that can't be stirred down. When jam comes to a boil add your sugar. Have your sugar ready so you can pour and stir sugar in. The recipe calls for 7 cups of sugar which is too sweet for me, I put in about 5 cups of sugar, which is enough to make a sweet jam, but not too much. I also like my jam a little runny, I don't like it set up like cement. I use my apricot jam in many of my recipes, and on toast muffins and apricot syrup on pancakes. I also think a softer apricot jam tastes better. You can do what you want as this is your jam. Just make sure you get it hot enough to kill the bacteria before putting in your jars.
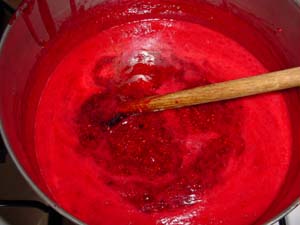
After it comes to a boil, stir it on medium heat while it is boiling until when you hold up your wooden spoon it slowly drips off, I think it resembles a bad case of cellulite (that is the best description I can give you), until it thickens to the consistency you want. Remember that when it cools it will thicken more.
The recipe in the ball pectin says stir for one minute after you bring it to a boil that can't be stirred down, but since I don't put in as much sugar I stir it longer on a medium heat until I feel it is the consistency I like.
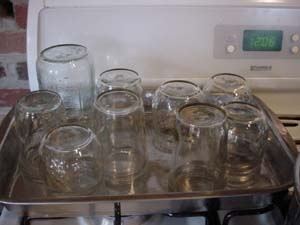
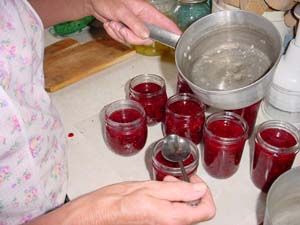
Pint Jars ready for Jam
I like to sterilize my pints in water. You have to be careful not to burn
yourself, always use safety when canning. I put water in a large cake pan or something that will hold the water and jars. I bring it to a boil and let simmer for a few minutes to sterilize it.
Some people use a dishwasher only but I use both when I have a dishwasher.
You may opt not to use wax and instead put your lids on and run them through a steam bath for the amount of time it takes to sterilize and seal the jam after the jars are filled with jam.
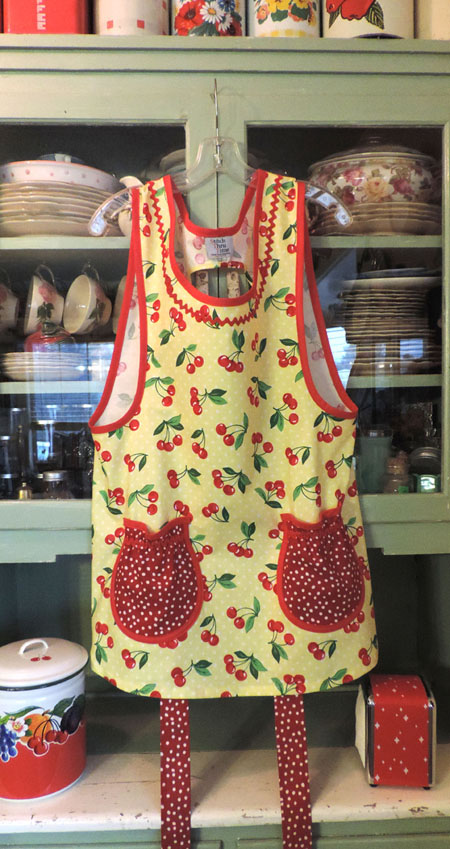
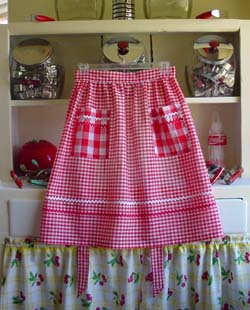
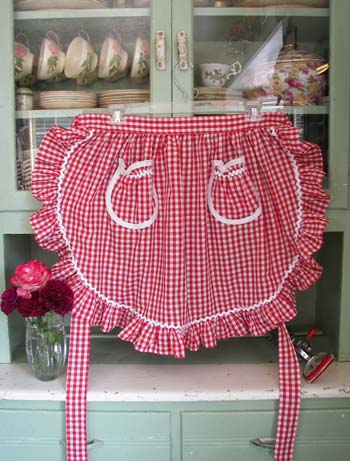
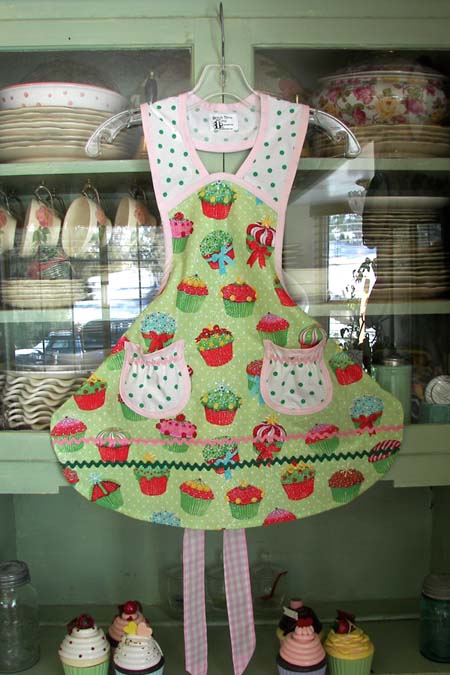
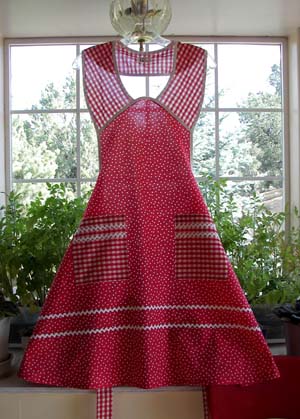
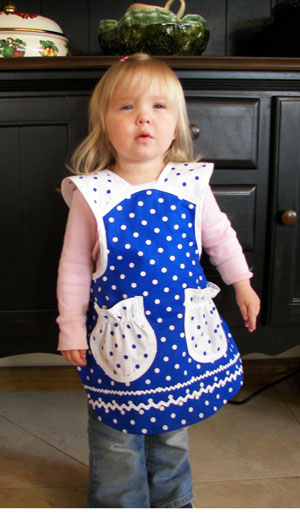
I always wear aprons when canning it keeps me clean and I feel like good in it, be careful when canning, it can be a fun experience, but you don't want to get burnt.
The steam from the water bath can also cause bad burns so avoid it.
Homemade Raspberry and Apricot Jam
Raspberry Jam
Prepare your jars and lids the same as the apricot jam recipe. Wash your raspberries ants seem to love raspberries. If you have currents or other types of berries these help the raspberries go farther and make a wonderful mixture of berries.
I put my raspberries in a large measuring cup a little at a time and barely crush with a potato masher. I want to just make sure they are broke down but not liquid. When you have measured out 5 cups of crushed berries put in canning pan and add 1 package of pectin, Ball and Kerr both have a good pectin or you may buy the liquid type. I usually double my bath even though they say not to, cuts down on the time for me which is very valuable.
Bring raspberries and pectin to a boil over low to medium heat.
After the mixture starts to boil you add your sugar. Have your sugar pre measured and ready to pour in. It makes the process go smoothly. The Ball pectin recipe calls for 7 cups of sugar, I use only 5 cups and that seems more then enough for me. You have to cook the jam longer but I like my jam a little runny, as I said with the apricot jam recipe, I don't like my jam to be cement.
When the raspberries come to a boil again (keep on low to medium heat) and make sure you stir it so it doesn't stick to the bottom and burn. Boil until it has thickened to the consistency of where when you drop it out of a wooden spoon it comes on with a little thickness, not runny. To me it reminds me of a bad case of cellulite sorry about the description but the best I can do without showing you in person.
Ladle into jars like I have described above in the apricot jam recipe, put on wax if you desire, wash the rim and put on caps and lids. Let sit for 24 hours before washing and labeling. I like to label on the lid instead of the jar so I can just throw my lid away and not have to scrub the labels off the jars next year. The least amount of work when I am canning the better.
We are not responsible for any recipe or food problems you may incur while canning, you may try it if you like but we are not responsible for any damage or problems you encounter while canning.
Always check your canning books recipe before canning as it may change for your area depending upon the altitude. It is important to preserve your food safely. It is always a good idea to check with your local extension office. I have found some wonderful booklets on all sorts of things, drying and canning at a very low price there. The ball canning book is one used often.
We are not responsible for any recipe or food problems you may incur while canning. This is a recipe I use, you may try it if you like but I am not responsible for any damage or problems you encounter while canning, this is just a recipe that has been working for me for many years.
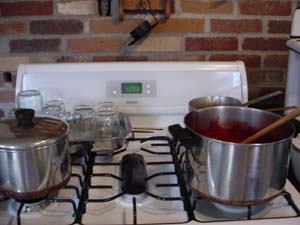
Jars lids and wax for making jam
I organize my jars, double burner for wax canning lids in covered pot with boiling simmering hot water to sterilize them also. When the jam is ready, so are all the other things.